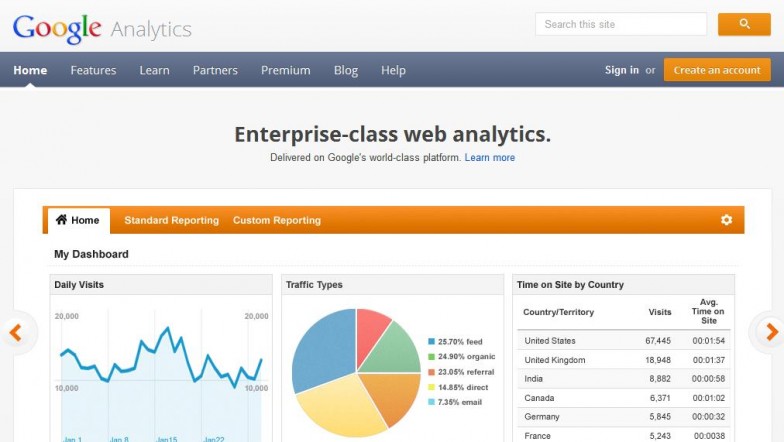
 Google Analytics is a free tracking tool that allows you to examine and boost your website’s overall performance. And crucially, it helps you acquire statistics regarding your site visitors and ROI from your marketing campaigns. This post is about showing you how to install Google Analytics to monitor and enhance the effectiveness of your website. It’s quick and easy to set up.
Note: This post was updated on 27 July 2012. And if you are reading this post well after this date, the following information should still be relevant today. Because the methods or principles of installation are always the same.
Step 1 – Firstly, signup for a free Google Email Account (known as GMail) if you don’t have one already.
Step 2 – Secondly, visit the Google Analytics Webpage. Click on the Google Analytics sign in button. Then login with your GMail account details.

Step 3 – Once you have completely logged in, click on create ‘New Account’ button from your admin login panel.
Step 4 – You are now ready to install Google Analytics on your website. To begin creating your New Account, choose an account name (could be any name). Also enter your website address, country, time zone and so on. Then click ‘Create Account’ to continue.
Step 5 – Once your account is fully created, the next page shows your google ‘Tracking Code’ in javascript. Just copy, paste and save the entire code to somewhere on your computer. As you are going to need it.
Step 6 – Then click ‘Save and Finish’ from the tracking code page. Your website performance profile should now appear on your screen. And you can see from the ‘Status’ bar that your ‘Tracking Code’ is not verified yet. It’s time to access your ‘Tracking Code’ you saved on your computer. As we are ready to use it.
Step 7 – NOTE: This step is where you apply your ‘Tracking Code’ on your website and it’s a very easy process. However if you cannot do it yourself, copy and email the code to your webmaster or administrator. They can then apply the code on your website for you.
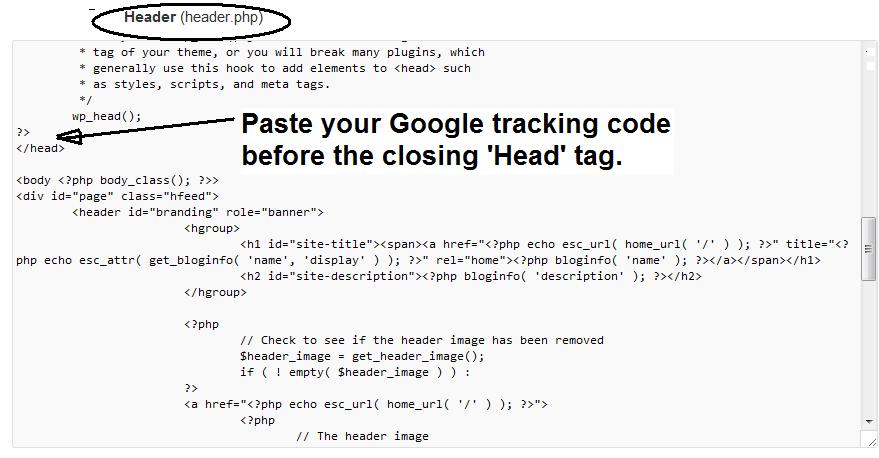
To apply the tracking code yourself, access your webpages from your ‘html editor’. Then copy and paste your code into each of the webpage you want to track. Paste your code immediately before the closing ‘Head’ tag of each webpage. And make sure you save your changes and upload to your web server.
There are 2 quicker and easier ways to apply your tracking code on your website.
Are you using wordpress for your site? If so, you can install Google Analytics plugin by Yoast on your website. This will allow you to enter your tracking code (only once) and all your webpages will automatically get tracked. Alternatively as shown below, you can easily paste the tracking code inside your site’s ‘Header.php’ (before the closing ‘Head’ tag). Either of these 2 ways will save you a lot of time. Because you only have to paste in the code once and all your webpages will automatically be getting tracked at the same time.
 That’s it, we are done! This is simply how to install Google Analytics in order to boost your Website Performance and your marketing campaigns. You now have to wait for about 24 hours for Google to approve your tracking ‘Status’. Once approved, you’ll start seeing your site’s traffic statistics and other relevant reports.
